A restaurant equipment list is essential for efficient kitchen operations. It streamlines resource management, enhances organization, and ensures compliance with industry standards, benefiting both new and established restaurants.
1.1 Importance of Having a Comprehensive Equipment List
A comprehensive equipment list is vital for restaurant efficiency, ensuring all necessary tools are accounted for and functional. It aids in budgeting, maintenance scheduling, and compliance with health standards; By prioritizing equipment, restaurants can optimize workflow, reduce downtime, and allocate resources effectively. This list also helps in planning upgrades and ensures energy efficiency, aligning with sustainability goals. A well-organized list enhances operational consistency, supporting long-term business success and adaptability to industry changes.
1.2 Benefits of Using a PDF Format for Equipment Lists
Using a PDF format for equipment lists offers unparalleled accessibility and convenience. PDFs are universally compatible, ensuring easy sharing and viewing across devices. They maintain a professional layout, making the document visually appealing and well-organized. PDFs are also easily printable, allowing restaurants to keep physical copies for quick reference. Additionally, PDFs are often free to download, providing cost-effective solutions for businesses. Their structured format helps in tracking and managing equipment efficiently, making them a practical choice for restaurant operations.
Must-Have Equipment for Restaurants
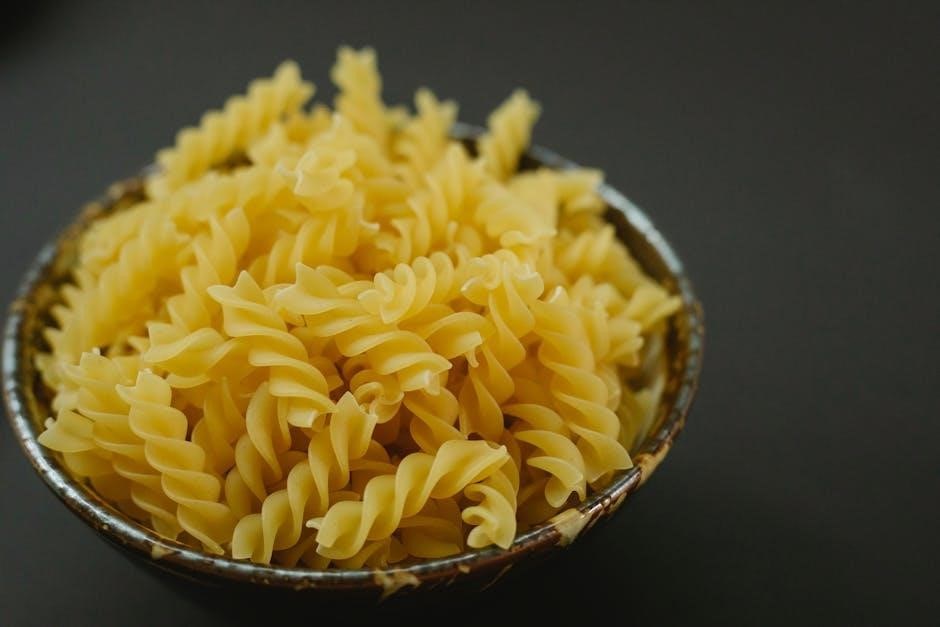
Essential restaurant equipment includes commercial ranges, fryers, refrigerators, ovens, dishwashers, and food processors. These tools ensure efficient food preparation, storage, and cleanup, supporting seamless kitchen operations.
2.1 Cooking Appliances
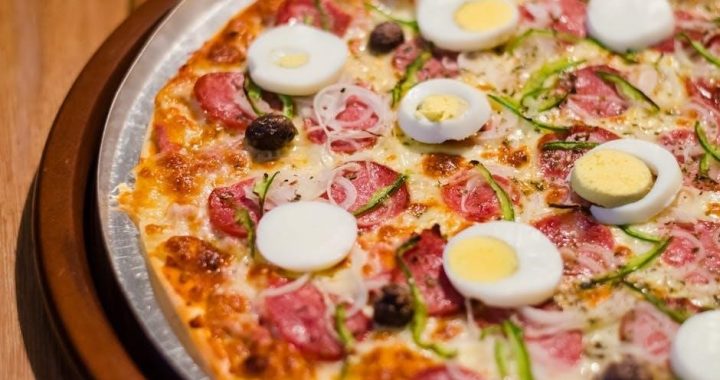
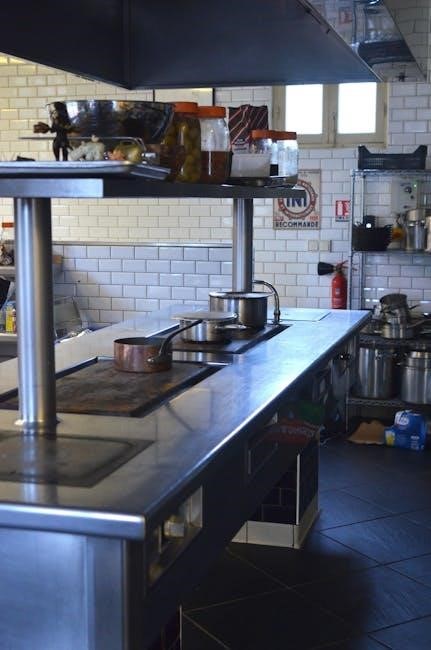
Cooking appliances are the backbone of any restaurant kitchen. Essential items include commercial ranges, deep fryers, ovens, griddles, and panini grills. These appliances enable high-volume food preparation, ensuring consistent results. Commercial ranges offer multiple burners for simultaneous cooking, while fryers handle crispy dishes efficiently. Ovens are versatile for baking, roasting, and reheating. Griddles and panini grills are perfect for pancakes, sandwiches, and seared meats. Investing in durable, energy-efficient models ensures long-term performance and supports a restaurant’s culinary operations effectively.
2.2 Refrigeration Units
Refrigeration units are vital for maintaining food safety and quality. Essential items include walk-in refrigerators, freezers, reach-in units, and under-counter options. These units ensure proper food storage, preventing spoilage and contamination. Commercial refrigerators are designed for high-volume needs, offering ample space for ingredients. Energy-efficient models reduce operational costs while maintaining optimal temperatures. Investing in reliable refrigeration ensures compliance with health standards and supports seamless kitchen operations, making them a cornerstone of any restaurant setup.
2.3 Food Preparation Tools
Food preparation tools are indispensable for efficient kitchen operations. Essential items include chef knives, cutting boards, vegetable slicers, and utensils like spatulas and peelers. Pots, pans, and colanders are also crucial for meal prep. Additionally, appliances such as food processors and grinders streamline tasks. These tools ensure consistency, hygiene, and productivity in food preparation. Organizing them properly enhances workflow and maintains a clean, functional kitchen environment, making them a vital part of any restaurant setup.
2.4 Baking Equipment
Baking equipment is crucial for producing high-quality pastries, bread, and desserts. Essential tools include baking ovens, microwave ovens, and countertop convection ovens for precise temperature control. Rotisserie ovens and griddles are also vital for specific baking tasks. Additionally, items like bakeware, pastry dough mixers, and proofing cabinets ensure consistency in baked goods. These tools enable restaurants to maintain quality and efficiency in their baking operations, catering to diverse menu requirements and customer preferences. Proper equipment selection is key to achieving optimal results.
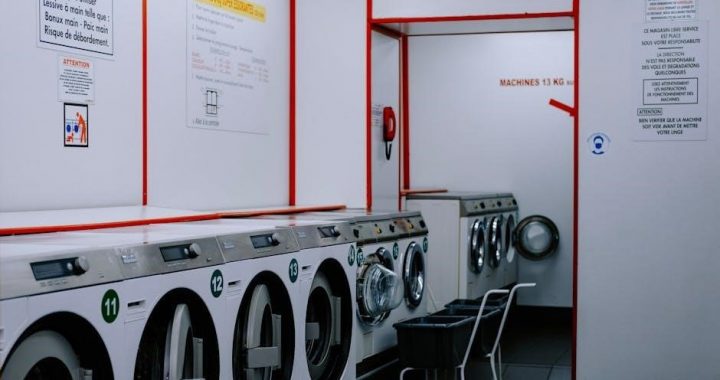
2.5 Dishwashing and Cleaning Tools
Dishwashing and cleaning tools are vital for maintaining hygiene and efficiency in restaurant operations. Essential items include commercial dishwashers, dish racks, and drying equipment. Cleaning supplies like sponges, scrubbers, and mops are also necessary. Additionally, waste disposal units and sanitizing equipment ensure a clean environment. These tools help streamline cleaning processes, reduce labor costs, and uphold health standards, making them indispensable for any foodservice establishment. Proper maintenance of these tools is crucial for long-term functionality and performance.
Maintenance and Safety Checklist
A maintenance and safety checklist ensures equipment longevity and workplace safety. It includes daily cleaning, weekly inspections, and monthly deep cleans to prevent breakdowns and hazards.
3.1 Daily Maintenance Tasks
Daily maintenance tasks are crucial for ensuring restaurant equipment operates efficiently and safely. These include cleaning appliances, checking refrigeration temperatures, lubricating moving parts, and securing loose components. Staff should also inspect for leaks or damage and document all maintenance activities. Regular cleaning prevents grease buildup and bacterial growth, while timely checks help avoid equipment failure. A well-structured daily routine ensures optimal performance, reduces downtime, and maintains a sanitary environment, ultimately contributing to customer satisfaction and operational excellence.
3.2 Weekly Maintenance Tasks
Weekly maintenance tasks ensure long-term functionality and hygiene of restaurant equipment. These include deep cleaning appliances, checking refrigeration temperature accuracy, cleaning exhaust systems, and inspecting electrical connections. Staff should also sanitize high-touch areas, review inventory, and schedule professional inspections if needed. Regularly cleaning filters and vents improves airflow and reduces fire risks. Proactive maintenance prevents breakdowns, extends equipment lifespan, and ensures seamless kitchen operations, maintaining health standards and operational efficiency throughout the week.
3.3 Monthly Maintenance Tasks
Monthly maintenance tasks are crucial for ensuring the longevity and performance of restaurant equipment. These tasks include deep cleaning refrigeration units, descaling water-using appliances, lubricating moving parts, and inspecting electrical components. Additionally, staff should check for worn-out seals, clean condenser coils, and verify temperature settings. Monthly inspections help identify potential issues early, preventing equipment breakdowns. Regularly scheduling professional maintenance ensures compliance with health standards and maintains operational efficiency throughout the restaurant.

Commercial Kitchen Design and Layout
A well-planned commercial kitchen design enhances workflow, functionality, and space efficiency, ensuring optimal productivity. Professional design services can tailor layouts to meet specific restaurant needs effectively.
4.1 Optimizing Kitchen Workflow
Optimizing kitchen workflow involves strategically designing the layout to enhance efficiency and productivity. By organizing food preparation zones, cooking stations, and storage areas logically, restaurants can streamline operations. Placing frequently used equipment in accessible locations reduces movement and saves time. A well-designed workflow minimizes bottlenecks, ensuring seamless communication and task execution. This approach not only improves staff performance but also maintains consistency in food quality and service delivery, making it a cornerstone of successful commercial kitchen operations.
4.2 Space-Saving Solutions
Space-saving solutions are crucial for maximizing efficiency in commercial kitchens. Compact appliances, vertical storage units, and multi-functional equipment help minimize footprint without compromising functionality. Modular designs and foldable tools also contribute to optimized layouts. By integrating these solutions, restaurants can create a more organized and productive work environment, reducing operational costs and enhancing overall efficiency.
Energy Efficiency in Restaurant Equipment
Energy-efficient restaurant equipment reduces operational costs and environmental impact. Appliances with ENERGY STAR certification offer significant energy savings, lowering utility bills and promoting sustainability in kitchen operations.
5.1 Energy-Saving Appliances
Energy-saving appliances are crucial for reducing operational costs and environmental impact. ENERGY STAR certified equipment, such as high-efficiency commercial ranges, fryers, and refrigeration units, can save up to 350 MMBTU/year, equivalent to around $4,000 annually. These appliances are designed to minimize energy consumption while maintaining performance, making them a smart investment for sustainable restaurant operations. Upgrading to energy-efficient models not only reduces utility bills but also contributes to a greener kitchen environment, aligning with modern eco-friendly business practices.
5.2 Benefits of ENERGY STAR Certified Equipment
ENERGY STAR certified equipment offers significant financial and environmental benefits. It reduces energy consumption by up to 350 MMBTU/year, saving around $4,000 annually. These appliances meet strict efficiency standards, lowering utility bills and operational costs. Additionally, they contribute to sustainability by decreasing greenhouse gas emissions, appealing to eco-conscious consumers. Many governments offer rebates or tax incentives for ENERGY STAR purchases, further enhancing their value. Upgrading to certified models supports long-term cost savings and aligns with green business practices.
Financial Considerations
Planning a budget for restaurant equipment is crucial. Consider financing options like loans or leasing to manage costs. Energy-efficient appliances may offer tax incentives, reducing expenses.
6.1 Budgeting for Equipment Purchases
Budgeting for restaurant equipment requires careful planning to balance quality and cost. Prioritize essential items like commercial ranges and refrigerators, while allocating funds for long-term energy efficiency. Consider upfront costs versus long-term savings, especially for ENERGY STAR-certified appliances, which may qualify for tax incentives. Compare prices from multiple suppliers and negotiate deals to stay within budget. Additionally, plan for future upgrades to avoid outdated equipment. A well-structured budget ensures sustainability and supports operational efficiency.
6.2 Financing Options for Restaurant Equipment
Restaurants can explore various financing options to acquire essential equipment. Loans, leasing, and working capital solutions are popular choices, allowing businesses to preserve cash flow. Leasing enables restaurants to use equipment without upfront costs, while loans provide ownership flexibility. Some providers offer tailored financing for energy-efficient appliances, aligning with sustainability goals. Additionally, government programs or grants may assist new establishments. Exploring these options ensures restaurants can invest in quality equipment while managing financial obligations effectively.
Bar and Dining Equipment
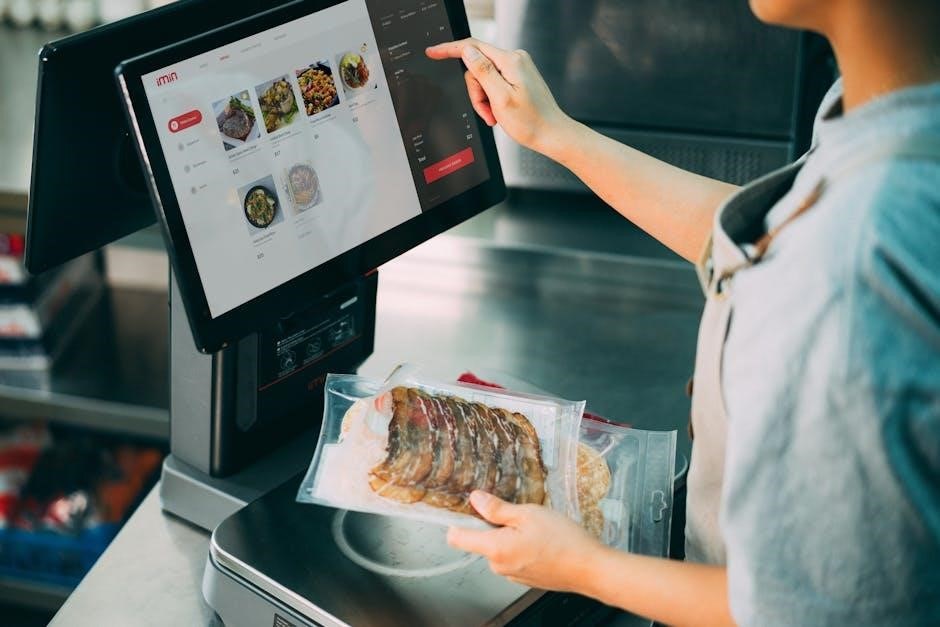
Essential bar supplies include caddies, knives, service mats, spoons, and strainers. Dining equipment comprises glassware, cutlery, tables, seating, linens, and POS systems for seamless service and functionality.
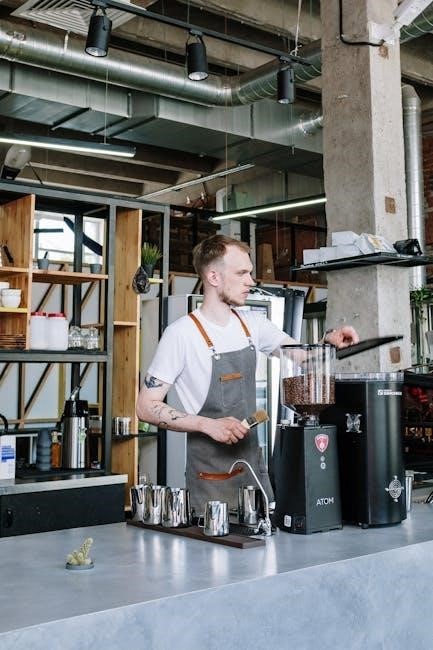
7.1 Essential Bar Supplies
Essential bar supplies include bar caddies, knives, service mats, spoons, strainers, and garnishing tools. These items streamline drink preparation, ensuring efficiency and consistency. Additionally, glassware, shakers, jiggers, and muddlers are vital for crafting cocktails. Bottle openers, cap catchers, and pourers also play a key role in managing beverages. These tools not only enhance the bartender’s workflow but also contribute to a professional and organized bar environment, ensuring seamless service and customer satisfaction.
7.2 Dining Area Equipment
Dining area equipment includes tables, chairs, and tableware such as plates, napkins, and utensils. Lighting, decorative elements, and serving trays also enhance the ambiance. Additionally, glassware, linens, and condiment holders are essential for a polished presentation. Maintaining cleanliness with items like vacuum cleaners and cleaning supplies ensures a welcoming environment. These elements collectively create a comfortable and inviting space for diners, contributing to an exceptional dining experience and overall customer satisfaction.
Inventory Management
Inventory management involves tracking and organizing restaurant equipment to ensure efficiency and reduce operational issues. It helps maintain equipment condition, schedule upgrades, and optimize resource allocation effectively.
8.1 Tracking Equipment Condition
Tracking equipment condition ensures optimal performance and longevity. Regular inspections and maintenance checks help prevent breakdowns. Detailed records of servicing, repairs, and replacements are essential. A restaurant equipment list PDF can serve as a centralized document for monitoring the state of each item. This practice promotes safety, reduces downtime, and helps in planning budgets for future upgrades or replacements. Consistent tracking also aids in complying with health and safety regulations, ensuring a smooth operational flow in the kitchen environment.
8.2 Scheduling Equipment Upgrades
Scheduling equipment upgrades is crucial for maintaining efficiency and profitability. A restaurant equipment list PDF helps identify outdated or inefficient appliances. Regularly reviewing and updating equipment ensures alignment with business growth and technological advancements. Prioritize upgrades based on performance, energy efficiency, and cost savings. Plan upgrades during off-peak seasons to minimize disruptions. Budgeting for phased replacements prevents financial strain. Upgrading to ENERGY STAR-certified equipment can reduce energy costs and enhance sustainability, ensuring long-term operational success and compliance with industry standards.

Future Trends in Restaurant Equipment
Future trends focus on smart, energy-efficient appliances and automation. IoT-enabled devices and sustainable equipment are gaining popularity, reducing costs and environmental impact while enhancing kitchen efficiency and safety.
9.1 Technological Advancements
Technological advancements are revolutionizing restaurant equipment, with smart appliances and IoT integration becoming standard. Smart ovens, automated fryers, and IoT-enabled refrigerators optimize performance and reduce energy consumption. Devices like the WMF Bistro Easy coffee machine offer advanced automation, improving efficiency. These innovations streamline operations, enhance safety, and ensure compliance with sustainability standards, making them indispensable for modern kitchens.
9.2 Sustainable Equipment Options
Sustainable equipment options are gaining traction in the restaurant industry, offering eco-friendly solutions that reduce environmental impact. ENERGY STAR certified appliances, such as energy-efficient refrigerators and ovens, lower energy consumption and operational costs. Eco-friendly materials like stainless steel and waste-reducing technologies are also priorities. These options not only align with environmental goals but also enhance a restaurant’s reputation and long-term profitability, making them a vital consideration for modern kitchens.