Welcome to the Yamaha 704 Remote Control Manual, your comprehensive guide to understanding, installing, and troubleshooting the Yamaha 704 remote control system for smooth marine operation․
1․1 Overview of the Yamaha 704 Remote Control
The Yamaha 704 Remote Control is a state-of-the-art system designed for seamless operation of Yamaha outboard motors․ This control box enables precise throttle, shift, and trim adjustments, ensuring smooth marine performance․ Built for compatibility with Yamaha engines, it features an ergonomic design and durable construction for long-lasting reliability․ The system integrates essential functions, including start-in-gear protection, to enhance safety and ease of use for operators․ Its user-friendly interface makes it ideal for both novice and experienced boaters․
1․2 Importance of the Manual for Proper Operation
The Yamaha 704 Remote Control Manual is essential for ensuring safe and effective operation․ It provides detailed instructions for installation, wiring, and troubleshooting, helping users avoid costly mistakes․ With clear guidelines for maintenance and repair, the manual extends the lifespan of the remote control․ Proper use of the manual ensures optimal performance, reduces risks, and enhances overall boating safety․ Referencing it regularly guarantees compliance with Yamaha’s specifications and best practices for marine equipment operation․

Key Features of the Yamaha 704 Remote Control
The Yamaha 704 Remote Control offers compatibility with Yamaha outboard engines, ergonomic design for smooth operation, and advanced features like start-in-gear protection for enhanced safety and performance․
2․1 Compatibility with Yamaha Outboard Engines
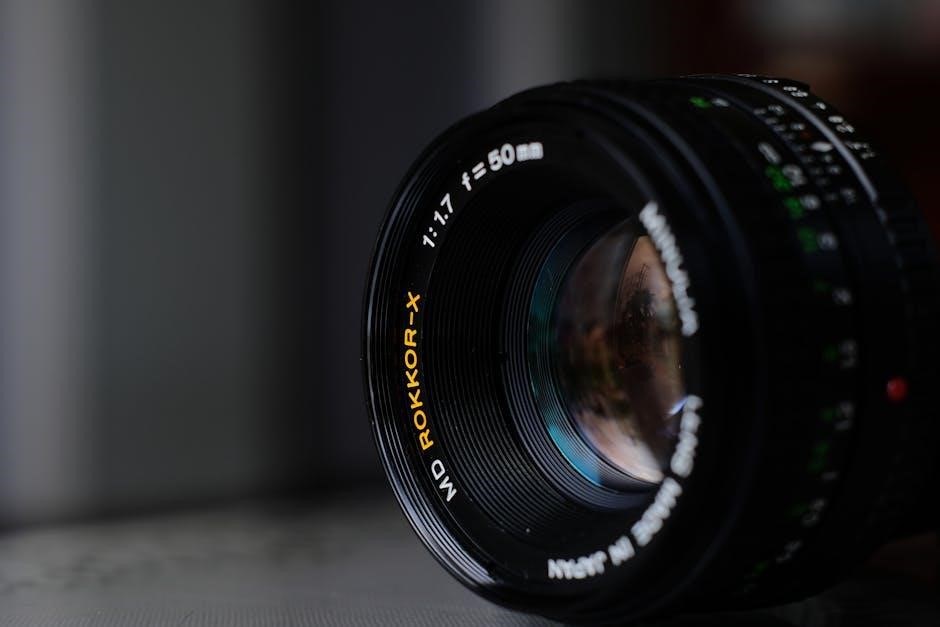
The Yamaha 704 remote control is specifically designed to work seamlessly with Yamaha outboard engines, ensuring optimal performance and control․ Its compatibility ensures smooth integration with various Yamaha models, providing precise throttle and shift control․ This design allows for efficient operation across different marine applications, making it a reliable choice for boaters seeking consistent performance from their outboard engines․
2․2 Control Box Design and Functionality
The Yamaha 704 control box is designed for user-friendly operation, featuring an ergonomic layout and durable construction․ It includes a start-in-gear protection device, ensuring safe engine startup․ The control box is built with marine-grade materials to withstand harsh environments․ Its functionality extends to precise throttle and shift control, along with trim and tilt adjustments, providing smooth and responsive command of your outboard engine for enhanced boating experiences․
Installation and Wiring of the Yamaha 704 Remote Control
Follow the step-by-step installation guide and detailed wiring diagrams for proper setup․ Ensure all connections are secure to guarantee reliable performance and safe operation of your remote control system․
3․1 Step-by-Step Installation Guide
Begin by disconnecting the throttle and shift cables from the motor․ Mount the control box securely, ensuring proper alignment with the binnacle․ Attach the cables to the control levers, adjusting for smooth operation․ Refer to the wiring diagram for correct connector pin-outs․ Connect the power supply and test all functions before finalizing the installation․ Ensure all connections are secure to prevent issues during operation․
3․2 Detailed Wiring Diagrams for Proper Setup
Refer to the wiring diagrams in the manual for precise connections․ Ensure the control box is correctly linked to the throttle and shift cables․ Color-coded wires simplify installation, while connector pin-outs provide clear guidance․ Follow the step-by-step guide to avoid misconnections․ Proper wiring ensures smooth communication between components, preventing operational issues․ Double-check all connections before powering up the system for reliable performance and safe operation․
Troubleshooting Common Issues
Identify symptoms like intermittent connectivity or unresponsive controls․ Check for loose connections or damaged cables․ Adjust throttle and shift cables if they feel stiff or misaligned․ Refer to the manual for detailed diagnostic steps to resolve these issues effectively and ensure smooth operation of your Yamaha 704 remote control system․
4․1 Identifying and Resolving Connectivity Problems
Connectivity issues with the Yamaha 704 remote control often arise from loose or corroded connections․ Start by inspecting all wiring and connectors for damage or corrosion․ Ensure the control box is properly powered and grounded․ If the remote control still malfunctions, check the throttle and shift cables for damage or misalignment․ Refer to the wiring diagrams in the manual for a detailed guide to tracing and repairing connectivity problems effectively․
4․2 Adjusting Throttle and Shift Cables
Adjusting the throttle and shift cables ensures smooth operation․ If the controls feel stiff or unresponsive, disconnect the cables and test the remote control movement․ Adjust the joint at the binnacle and engine end to eliminate slack․ Ensure proper alignment and tension for optimal performance․ Regular lubrication can help prevent stiffness․ Always refer to the Yamaha 704 manual for detailed adjustment procedures and diagrams to maintain precise control․

Repair and Maintenance of the Remote Control
Regular maintenance ensures the Yamaha 704 remote control operates reliably․ Inspect cables, hardware, and controls for wear․ Replace damaged parts promptly and clean components regularly for optimal performance․
5․1 Replacing Damaged or Worn-Out Parts
Identify worn or damaged components such as cables, levers, or connectors․ Order genuine Yamaha parts for compatibility․ Follow the manual’s step-by-step guide to replace parts․ Ensure proper alignment and secure installation․ Refer to wiring diagrams for accurate connections․ Apply lubrication as needed; Regular replacement prevents system failure and ensures smooth operation․ Always consult the Yamaha 704 remote control manual for specific instructions and diagrams to guarantee a successful repair․
5․2 Lubrication and Cleaning Tips
Regularly lubricate moving parts like levers and hinges with marine-grade lubricants to prevent corrosion and wear․ Clean the control box and cables with a soft cloth and mild detergent․ Avoid harsh chemicals that may damage components․ Inspect for signs of wear or corrosion and address them promptly; Lubrication ensures smooth operation, while cleaning maintains functionality and longevity․ Follow the Yamaha 704 manual for detailed cleaning and lubrication guidelines to keep your remote control in optimal condition․
Safety Features and Precautions
The Yamaha 704 remote control features a start-in-gear protection device, ensuring the engine starts only in neutral․ Always follow marine safety guidelines for secure operation․
6․1 Start-in-Gear Protection Device
The Yamaha 704 remote control features a start-in-gear protection device, ensuring the engine only starts when the shift lever is in neutral․ This critical safety feature prevents accidental engine startup, reducing the risk of injury or damage․ Always ensure this device is functioning correctly to maintain safe operation․ Regularly check and maintain the mechanism to comply with marine safety standards and prevent potential hazards during boating activities․
6․2 Ensuring Safe Operation in Marine Environments
Safe operation of the Yamaha 704 remote control in marine environments requires adherence to proper installation and maintenance protocols․ Always ensure the control box is securely mounted and protected from water ingress․ Regularly inspect throttle and shift cables for wear or damage․ Additionally, verify that all electrical connections are secure to prevent malfunctions․ Operate the remote control with caution, especially in rough weather conditions, to maintain precise control of your vessel’s movement and ensure passenger safety․

Operating the Yamaha 704 Remote Control
The Yamaha 704 remote control offers intuitive operation with precise throttle, shift, and trim controls․ Its ergonomic design ensures smooth handling, while advanced features enhance overall boating experiences․
7․1 Basic Functions: Throttle, Shift, and Trim
The Yamaha 704 remote control features three primary functions: throttle, shift, and trim․ The throttle adjusts engine speed, the shift controls gear selection, and the trim optimizes engine angle for performance․ These functions ensure precise control over the outboard motor, enabling smooth acceleration, effortless gear transitions, and improved fuel efficiency․ Proper use of these controls enhances overall boat handling and responsiveness, making operation intuitive and efficient for marine enthusiasts․
7;2 Advanced Features for Smooth Control
The Yamaha 704 remote control offers advanced features for enhanced operation, including smooth throttle control, precise trim adjustment, and seamless shift transitions․ These features ensure optimal engine performance, improved fuel efficiency, and reduced operator fatigue․ The control system is designed for intuitive use, allowing for quick adjustments and responsive handling․ Advanced settings and customizable controls further refine the boating experience, providing users with unparalleled command over their vessel’s movements and performance in various marine conditions․

Resources for Further Assistance
Access official Yamaha manuals, wiring diagrams, and expert forums for detailed guidance, troubleshooting, and parts information to ensure optimal performance of your Yamaha 704 remote control system․
8․1 Accessing Official Yamaha Manuals
Accessing official Yamaha manuals for the 704 remote control is straightforward․ Visit Yamaha’s official website or authorized dealers for downloadable PDFs․ These manuals provide detailed instructions, wiring diagrams, and troubleshooting tips․ Ensure you reference the correct model year and version for accuracy․ Additionally, Yamaha’s support forums and customer service can assist in obtaining specific documentation tailored to your needs for reliable operation and maintenance․
8․2 Yamaha Outboard Forum for Expert Advice
The Yamaha Outboard Forum is a valuable resource for expert advice and troubleshooting․ Engage with experienced users and technicians to resolve issues, access repair tips, and learn about compatible parts․ The forum covers various Yamaha models, including the 704 remote control, offering detailed discussions on installation, maintenance, and common problems․ It’s an excellent platform for finding tailored solutions and sharing experiences with the marine community․
Frequently Asked Questions (FAQs)
Discover answers to common questions about the Yamaha 704 remote control, including connectivity issues, throttle adjustments, and troubleshooting tips for seamless operation․
Find solutions to frequently encountered problems and learn how to access additional resources for further assistance with your Yamaha 704 remote control system․
9․1 Common Queries About the Yamaha 704 Remote Control
Users often inquire about installation steps, troubleshooting connectivity issues, and adjusting throttle or shift cables․ Common questions also include understanding the start-in-gear protection device and resolving stiffness in the control lever․ Additionally, queries about compatible Yamaha outboard engines and the process for replacing worn-out parts are frequently raised․ These questions highlight the need for clear, step-by-step guidance to ensure optimal performance and longevity of the remote control system․
Another frequent query involves understanding the wiring diagrams and ensuring proper lubrication for smooth operation․ Many users also seek advice on resolving issues like intermittent connectivity or malfunctioning trim controls․ These topics are essential for maintaining reliable control over the outboard motor and ensuring safe marine operations․
9․2 Solutions to Frequently Encountered Problems
For connectivity issues, ensure all cables are securely connected and free from damage․ Stiff controls can be resolved by lubricating pivot points and adjusting cable tension․ If the start-in-gear protection device activates unexpectedly, verify the shift lever is fully in neutral․ Intermittent operation may require checking wiring connections or replacing faulty components․ Regular maintenance, such as cleaning and lubricating moving parts, helps prevent many common issues and ensures smooth operation of the Yamaha 704 remote control system․
Best Practices for Long-Term Use
Regularly lubricate moving parts, clean the control box, and inspect cables for wear․ Store the remote in a dry place when not in use․
10․1 Regular Maintenance Schedule
Establish a routine maintenance schedule to ensure optimal performance․ Inspect the throttle and shift cables monthly for wear or corrosion․ Clean the control box and remote components with a mild detergent․ Lubricate all moving parts, such as hinges and linkages, every 100 hours of operation․ Replace worn-out or damaged parts promptly to prevent further issues․ Store the remote control in a dry, cool environment during off-seasons to prevent moisture damage and rust․
10․2 Tips for Extending the Lifespan of the Remote Control
To extend the lifespan of your Yamaha 704 remote control, protect it from harsh marine environments by using a protective cover․ Avoid exposing it to direct sunlight or extreme temperatures․ Regularly clean corrosion-prone areas and apply a marine-grade lubricant to moving parts․ Store the remote in a dry, cool place during off-seasons․ Always use genuine Yamaha parts for replacements to ensure compatibility and durability․ Follow these tips to maintain optimal performance and longevity․