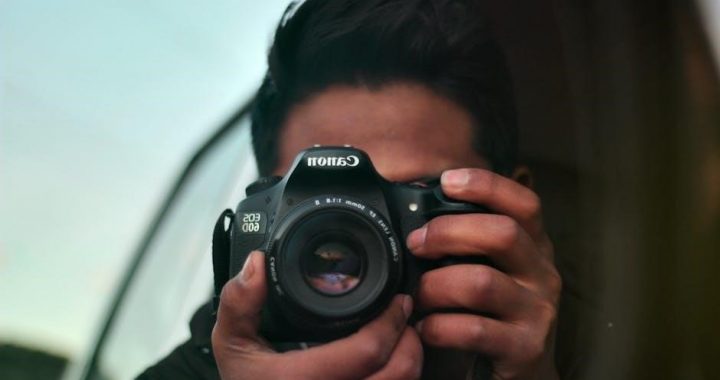
Welcome to the Canon EOS 7D Instruction Manual‚ your comprehensive guide to mastering this high-performance DSLR camera. Designed for enthusiasts and professionals‚ the EOS 7D offers advanced features like an 18MP CMOS sensor‚ Dual DIGIC 4 processors‚ and a 19-point AF system. This manual covers setup‚ shooting modes‚ autofocus‚ video recording‚ and maintenance‚ ensuring you unlock the camera’s full potential for stunning photography and videography;
Purpose and Scope of the Manual
This manual is designed to help users understand and utilize the Canon EOS 7D effectively‚ covering its features‚ setup‚ and operation. It serves as a detailed guide for photographers of all levels‚ from beginners to professionals‚ providing clear instructions on camera settings‚ shooting modes‚ and advanced functions. The manual includes troubleshooting tips‚ maintenance advice‚ and customization options to enhance your photography experience. By following this guide‚ you’ll gain the knowledge to unlock the full potential of the EOS 7D‚ ensuring optimal performance in various shooting scenarios. Whether you’re capturing still images or recording HD video‚ this manual is your essential resource for mastering the camera’s capabilities.
Key Features of the Canon EOS 7D
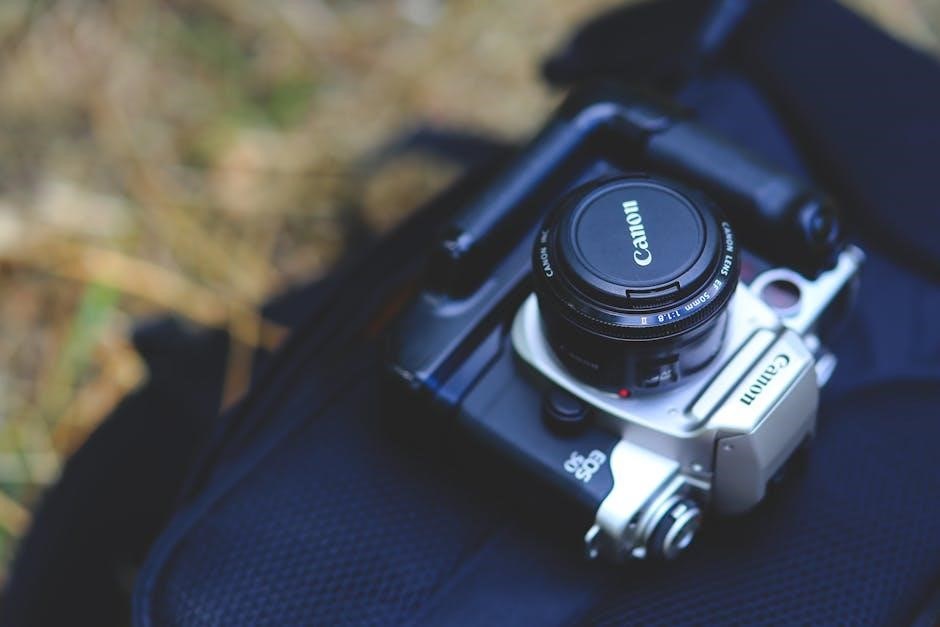
The Canon EOS 7D boasts an 18.0-megapixel APS-C CMOS sensor‚ delivering exceptional image quality and detail. It features Dual DIGIC 4 image processors‚ enabling high-speed continuous shooting at up to 8 frames per second. The camera’s 19-point all-cross-type autofocus system ensures precise subject tracking‚ while its ISO range of 100-12800 offers flexibility in various lighting conditions. The EOS 7D also supports full HD video recording with manual exposure control‚ making it a versatile tool for both photography and videography. Additional features include a 3-inch LCD screen‚ weather-sealed construction‚ and compatibility with Canon’s EF-S lenses‚ making it a robust choice for enthusiasts and professionals alike.
Setup and Basic Operations
Familiarize yourself with the essential setup steps for your Canon EOS 7D‚ including unboxing‚ battery installation‚ initial power-on‚ and mounting lenses and accessories.
Unboxing and Initial Setup
Upon unboxing your Canon EOS 7D‚ ensure all accessories are included‚ such as the camera body‚ battery‚ charger‚ and manual. Carefully unpack and inspect each item for damage. Insert the battery into the charger and allow it to charge fully before first use. Once charged‚ insert the battery into the camera and power it on. Follow the on-screen prompts to set your preferred language‚ date‚ time‚ and other initial preferences. Familiarize yourself with the camera’s exterior controls and modes. This initial setup ensures your camera is ready for use and tailored to your needs‚ providing a smooth start to your photography journey with the EOS 7D.
Charging the Battery and First Power-On
Before using your Canon EOS 7D‚ charge the supplied LP-E6 battery using the LC-E6 charger. Ensure the charger is connected to a power source and the battery is fully charged‚ which typically takes about 2 hours. Once charged‚ insert the battery into the camera’s battery compartment‚ located at the bottom‚ ensuring it clicks securely into place. Turn on the camera by pressing the power switch located on the top right. The camera will perform a self-check and display the initial setup wizard. Follow the on-screen instructions to set your preferred language‚ date‚ time‚ and other basic settings. This process prepares your camera for its first use‚ ensuring optimal functionality and personalized configuration.
Mounting Lenses and Accessories
To mount a lens on your Canon EOS 7D‚ align the red dot or white square on the lens with the corresponding mark on the camera’s lens mount. Gently twist the lens clockwise until it clicks into place‚ ensuring it is securely attached. For accessories like flashes or microphones‚ use the hot shoe on the camera’s top. Align the accessory’s mounting pin with the shoe and secure it firmly. Additionally‚ the camera features an E3 remote terminal for wired remote controllers. Always handle the camera and accessories with care to avoid damage during mounting or removal.
Advanced Shooting Modes and Customization
The Canon EOS 7D offers Manual (M)‚ Aperture Priority (Av)‚ and Shutter Priority (Tv) modes for precise control over exposure. Customize settings like AF points‚ metering modes‚ and ISO to tailor your photography experience.
Understanding Manual‚ Aperture Priority‚ and Shutter Priority Modes
The Canon EOS 7D provides three advanced shooting modes for enhanced creative control. In Manual (M) mode‚ users can independently adjust aperture and shutter speed for full control over exposure. Aperture Priority (Av) mode allows you to set the aperture‚ while the camera automatically adjusts the shutter speed to maintain optimal exposure. Shutter Priority (Tv) mode lets you set the shutter speed‚ with the camera adjusting the aperture accordingly. These modes are ideal for capturing specific effects‚ such as controlling depth of field or freezing fast-moving subjects. By mastering these modes‚ photographers can achieve precise results tailored to their artistic vision.
Customizing Camera Settings for Personalized Photography
The Canon EOS 7D allows photographers to tailor camera settings to their personal preferences‚ ensuring a more intuitive and efficient shooting experience. Custom Functions enable adjustments to ISO ranges‚ autofocus modes‚ and metering patterns‚ while Picture Styles let you define color tones and sharpness to match your artistic vision. Additionally‚ the camera’s AF system can be fine-tuned for specific lens performance. Users can also create custom menus‚ grouping frequently used settings for quick access. These customization options empower photographers to adapt the EOS 7D to their unique workflow‚ enhancing creativity and precision in every shot. By personalizing settings‚ photographers can streamline their process and focus on capturing their creative intent.

Autofocus and Metering Systems
The Canon EOS 7D features a sophisticated 19-point cross-type autofocus system with AI Servo II technology for precise subject tracking. Its metering system offers Evaluative‚ Center-Weighted‚ and Spot modes for accurate exposure control‚ ensuring optimal results in various lighting conditions.
19-Point Autofocus System Explained
The Canon EOS 7D’s 19-point autofocus system is designed for high-precision focusing‚ especially in dynamic shooting situations. All 19 points are cross-type‚ providing enhanced accuracy and reliability. The system is powered by the advanced AI Servo II AF algorithm‚ which predicts subject movement and maintains sharp focus on moving subjects. Users can manually select individual AF points or use pre-programmed zones to tailor focus acquisition to specific scenarios. This flexibility makes the EOS 7D ideal for sports‚ wildlife‚ and portrait photography. The system’s responsiveness and customization options ensure photographers can adapt to challenging environments‚ delivering consistent and professional results.
Using Different Metering Modes for Accurate Exposure
The Canon EOS 7D offers four metering modes to ensure precise exposure control: Evaluative‚ Center-Weighted‚ Partial‚ and Spot. Evaluative metering analyzes the entire scene using a 63-zone dual-layer sensor‚ adapting to lighting conditions for balanced results. Center-Weighted emphasizes the central 8% of the frame‚ ideal for portraits. Partial metering focuses on a 9.1% central area‚ useful for backlit subjects. Spot metering measures a 2.3% area for precise control‚ perfect for high-contrast situations. Each mode tailors exposure calculation to specific scenarios‚ allowing photographers to achieve accurate results. Understanding and selecting the right metering mode enhances creativity and ensures optimal image quality in various lighting conditions.

Video Recording Capabilities
The Canon EOS 7D supports HD video recording with resolutions up to 1080p at 30fps‚ offering manual control over exposure‚ aperture‚ and shutter speed for cinematic results.
HD Video Recording Options and Settings
The Canon EOS 7D offers versatile HD video recording options‚ including 1080p at 30fps‚ 720p at 60fps‚ and a frame rate of 50Hz for smooth motion capture. Users can select from various file formats such as MOV for high-quality video and MP4 for convenience. The camera also allows manual control over exposure settings‚ enabling adjustments in aperture‚ shutter speed‚ and ISO during recording. Additionally‚ the EOS 7D supports external microphone input for enhanced audio quality‚ making it ideal for professional videography. These features provide users with flexibility and precision to achieve professional-grade video content.
Manual Control Over Video Exposure and Audio
The Canon EOS 7D provides comprehensive manual control over video exposure and audio settings‚ allowing for precise customization. Users can adjust aperture‚ shutter speed‚ and ISO during recording to achieve desired visual effects. The camera also features manual audio level control‚ enabling adjustments to sound input levels for clearer dialogue or ambient sound capture. Additionally‚ the EOS 7D supports external microphone input‚ further enhancing audio quality. These manual controls empower filmmakers and photographers to produce professional-grade video content with tailored exposure and sound‚ ensuring creative freedom and superior results in various shooting scenarios.
Maintenance and Troubleshooting
Regularly clean the sensor and camera body to prevent dust and moisture damage. Troubleshoot common issues like error codes or connectivity problems using the manual’s guidance for optimal performance.
Cleaning the Sensor and Camera Maintenance Tips
Regular sensor cleaning is essential to maintain image quality. Use the camera’s built-in cleaning mode or manual cleaning with a hand bulb or swabs. Always power off the camera before cleaning.
For manual cleaning‚ use a soft‚ dry brush or swabs specifically designed for sensors. Avoid touching internal components to prevent damage. Clean the exterior with a microfiber cloth and mild soap solution.
Store the camera in a dry‚ cool place to prevent moisture buildup. Use a UV or protective filter to shield the lens. Replace the battery and memory card in a clean environment.
Refer to the manual for detailed steps to ensure proper maintenance and extend the camera’s lifespan. Regular maintenance ensures optimal performance and image quality.
Common Issues and Solutions
Common issues with the Canon EOS 7D include error messages‚ memory card errors‚ and autofocus malfunctions. For error messages like “Err 99‚” restart the camera or re-install the lens. Memory card errors often require formatting the card in the camera.
Autofocus issues may occur due to incorrect AF point selection or lens misalignment. Use the AF Microadjustment feature to calibrate lenses. Firmware updates can resolve bugs and improve performance.
Sensor dust or smudges can cause blemishes in images. Clean the sensor regularly using the camera’s cleaning mode or manual methods. For persistent issues‚ consult the manual or contact Canon support.